{Craft} Diaper Cake Tutorial
September 13, 2011 in All Posts, DIY
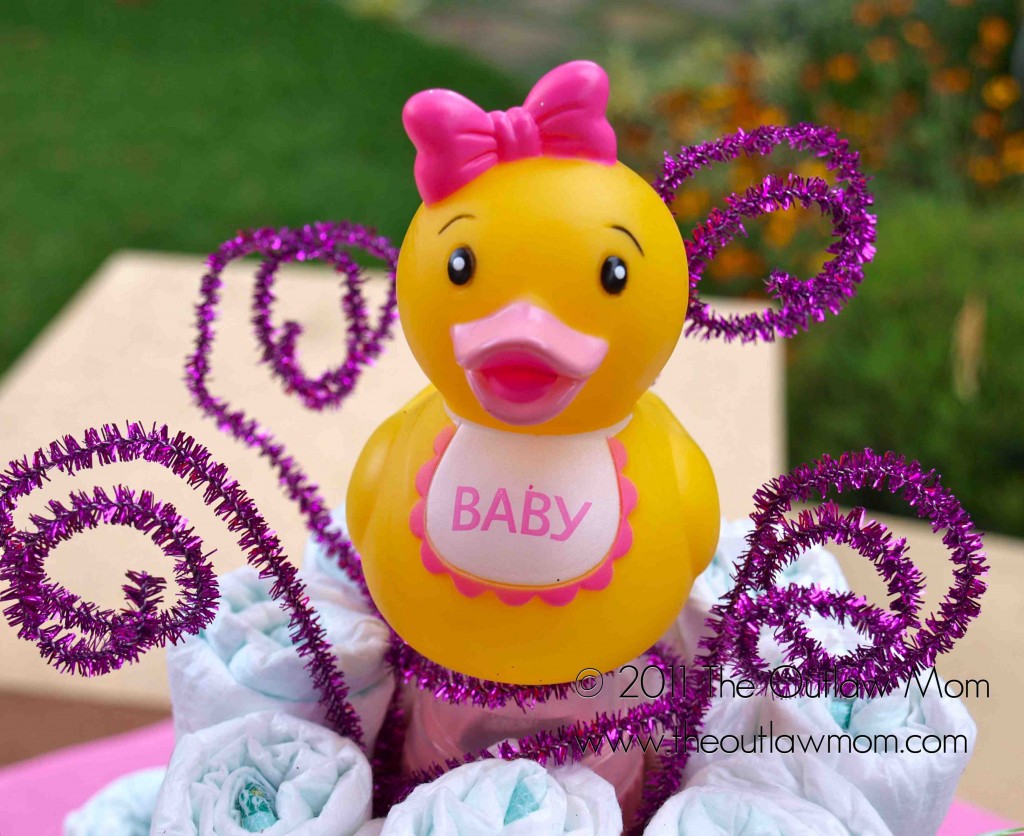 For our friend’s baby shower, we decided to make a diaper cake. I had never attempted one before, but was so intrigued by the various styles around the blogosphere, I decided to give it a go. I discovered that diaper cakes are a great way to bring a focal point to your party or add an additional cute piece of decor that you can customize to any theme. Plus, your mom-to-be gets to take home a stash of diapers for her little one! How’s that for fashion and function all in one?
Our theme was Sugar & Spice & Everything Nice, but somehow it transformed into Sugar & Bling & Everything Pink!
Here’s what you’ll need to make your own pink and bling diaper cake:
Materials
- 75-100 size 2 diapers (preferably all white)
- small and large rubber bands
- ribbon
- double-sided tape (or glue)
- a baby bottle and cylindrical bottle of baby powder (or any cylindrical objects will do)
- any other decorative elements you need to bring the bling
- cardboard (to form a base for the cake)
- decorative paper or aluminum foil (to cover the cake base)
Step 1
Roll your diapers and secure with a rubber band.
Tip: Start with the open end of the diaper and roll towards the other end. Try to keep the rubber band flat and avoid pinching the middle of the rolled diaper too much.
Step 2
With your baby powder bottle as a center anchor, set a first ring of diapers around the bottle and secure with a large rubber band.
Tip: You’ll need to place objects around the rolled diapers to hold them in place until they’re secured. Or, you can place the rubber band around the bottle first, and then slip the rolled diapers under the band.
Step 3
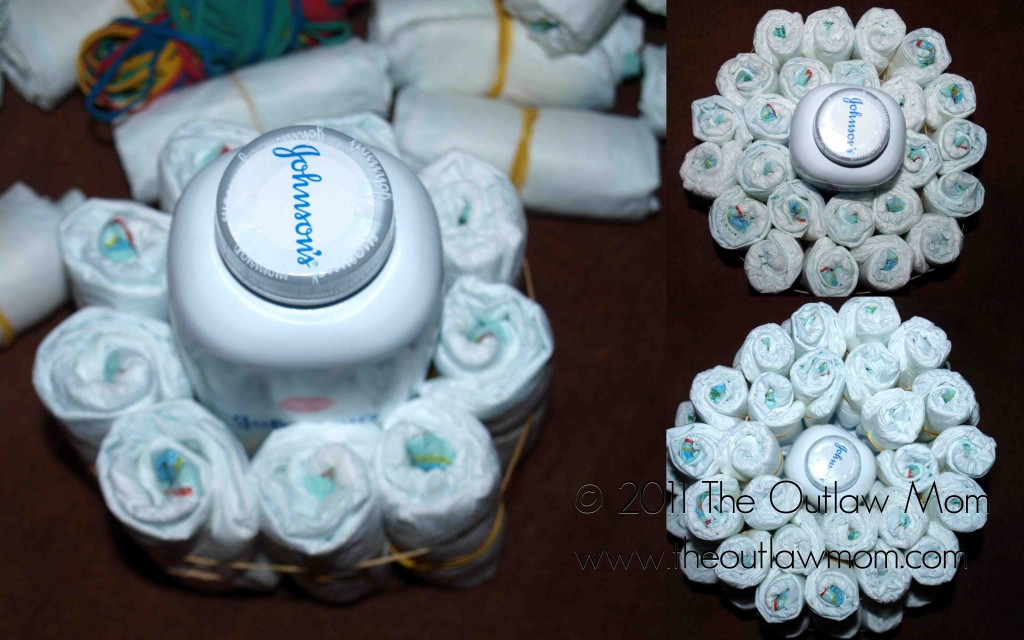
Repeat Step 2 until you have three rings.
Then place the baby bottle on top of the baby powder bottle and make a two-ring layer. Add a final one-ring layer at the top.
Step 4
Cut your ribbon down to size and wrap it around the cake layers, making sure to cover the rubber bands.
Tip: If you choose a see-through ribbon, the rubber bands will show through. To solve this problem, I doubled my sheer silver glitter polka dot ribbon over the opaque pink glitter ribbon.
Step 5
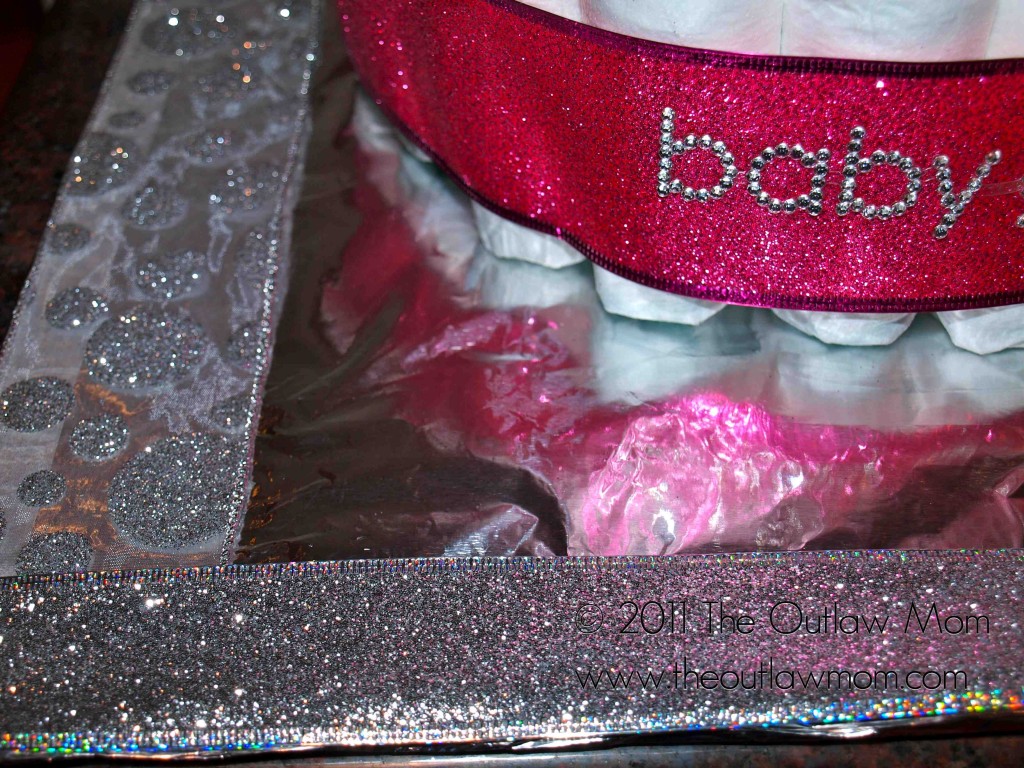 Decorate your base board. I covered a piece of cardboard with aluminum foil and taped down matching ribbon from the diaper cake. Clear drying glue would have worked better since we had to transport the cake to the party venue and glue would have helped the ribbon stay put instead of sliding around.
Tip: It would be a good idea to secure your baby powder bottle to a base before starting the whole process. I didn’t, but it would have allowed me to move the diaper cake around more easily from floor to table to counter, etc. (You don’t want to end up with a mess like this after all your hard work).
Step 6
Decorate your cake. We added sticker bling to the ribbon, curled glitter pipe cleaners, homemade tissue paper flowers in pink and white, and lollipops tied with pink bows since our theme was Sugar & Spice & Everything Nice.
Many tutorials suggest lightly gluing the diapers either to each other or to the center anchor pieces, but we wanted to avoid any possibly toxic or messy substances and found that just using the rubber bands worked well enough.
Happy “Baking”!
























[…] 8. It’s a Girl Diaper Cake […]
[…] Diaper Cake Tutorial […]
[…] love that it incorporates natural elements, but has some glittery pizzazz - which you know I can’t resist! And it’s as easy as 1 - 2 - […]
[…] I’m all about the diaper cake these days. They’re such a fabulous decor piece - plus, the lucky recipient gets to take home the fruits of your well-meaning labor and put your present to good use long after the party. In case you missed the last one, here’s my tutorial for the pink and bling diaper cake I made for my friend A’s Sugar and…. […]
Great diaper cake. Thank you so much for sharing at Bacon Time.
Thanks, Mindie! And thanks for hosting the linky!
[…] course, the pink & bling diaper cake graced a table of its own! Details and tutorial here. We matched the lollipop table decor with mini lollies on the diaper […]
I love all the fun, sparkle and bling of your diaper cake. You made it like a pro!
Thank you so much for sharing your creativity at Rook No. 17! Your link-up got a lot of clicks this week! I’m spotlighting your post on my Facebook page.
Jenn
You’re a crafting/baking rockstar and I love Rook No. 17, so I’m honored, Jenn! It was supposed to be all sugar and spice and pastels, but once I found the sparkly ribbon, the bling just got out of me and wouldn’t stop Thanks for stopping by!
What an adorable center piece for a baby shower, I love the ribbons used!
Thanks, Trisha! I couldn’t resist all the sparkle (never can). Love all the yummy recipes on your blog - I can’t wait to try that tzatziki. Thanks for stopping by