{Craft} Paper Tissue Flower Tutorial
December 9, 2011 in All Posts, DIY
Apparently, Klout was right when they said they believe I am influential in “Mary Poppins,” because here I am just giving you the tutorial on how to make the paper tissue flowers I first promised to be “coming soon” 3 months ago and later promised to be coming asap 3 weeks ago. Apologies for my “easily made, easily broken” pie crust promises.
Before I risk another pie crust promise, let’s get to it.
Materials
- 4-8 5×10 sheets of tissue paper per flower (they don’t come that size - you’ll have to cut larger rectangles down to size)
- flower wire or pipe cleaners
- optional: any jewels or pistil and stamen embellishments
Step 1
Layer 4-6 sheets of tissue paper - 8 if you’re brave - and cut the paper into 5×10 rectangles.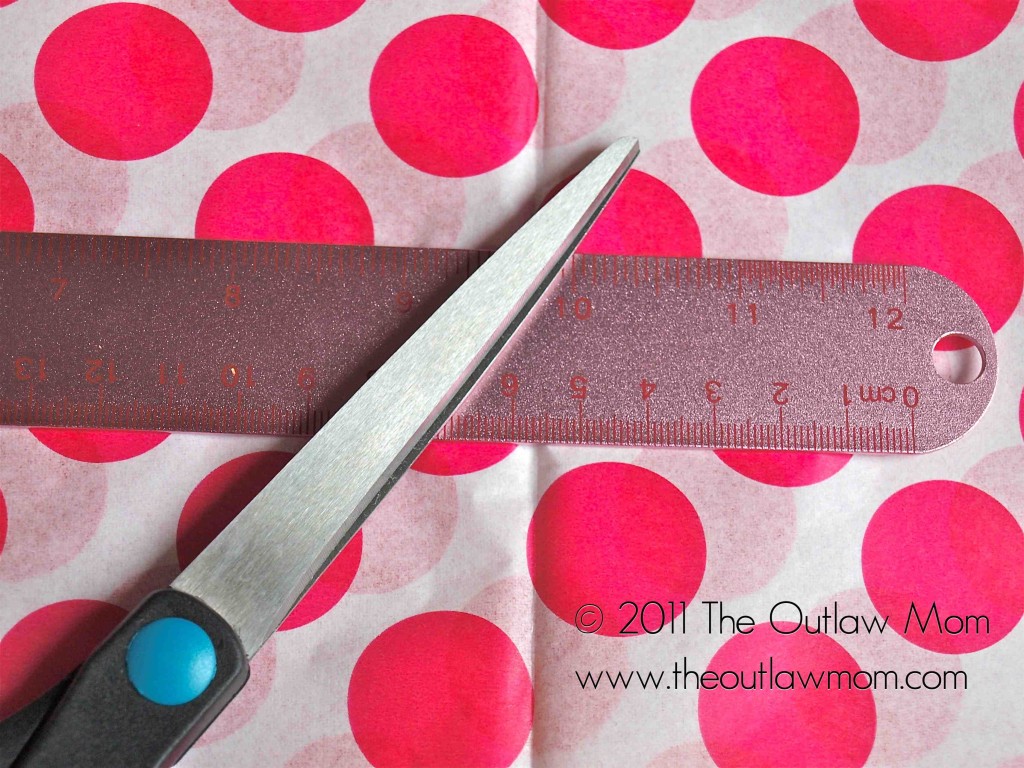
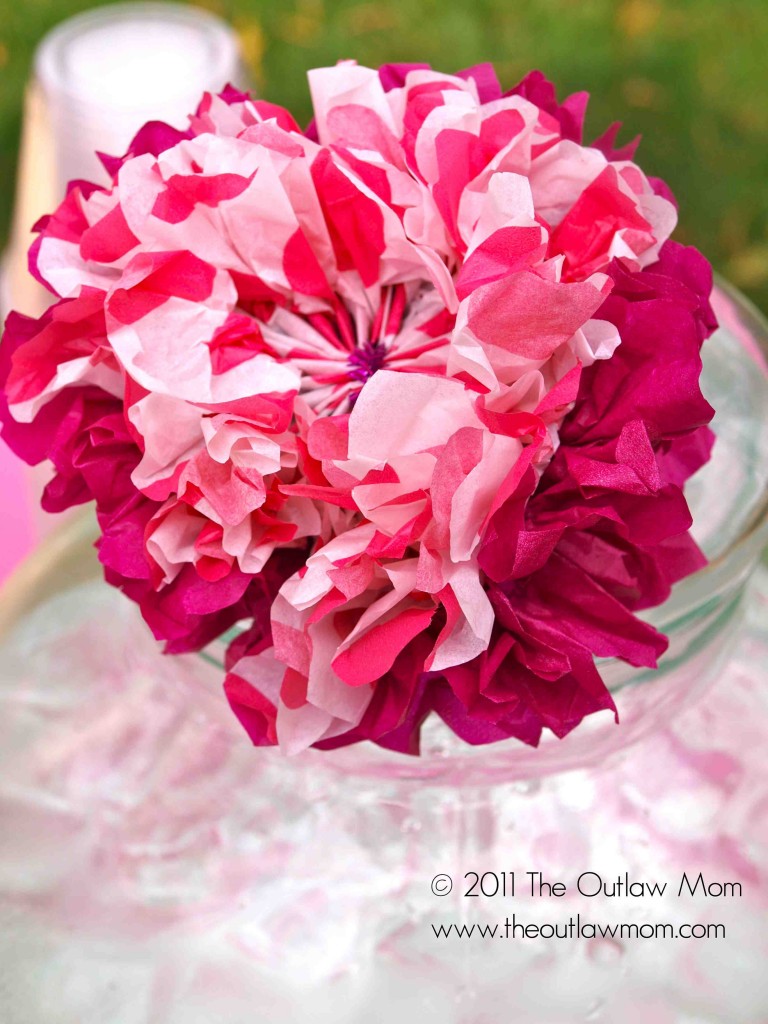
Four sheets will give you a looser look like this: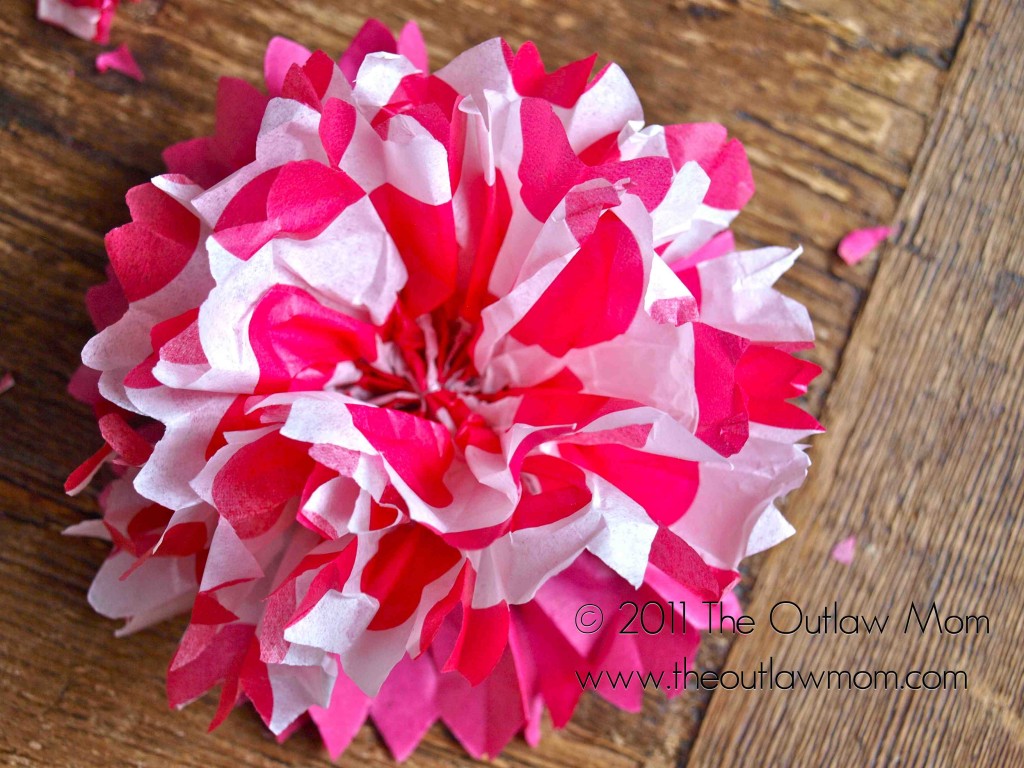
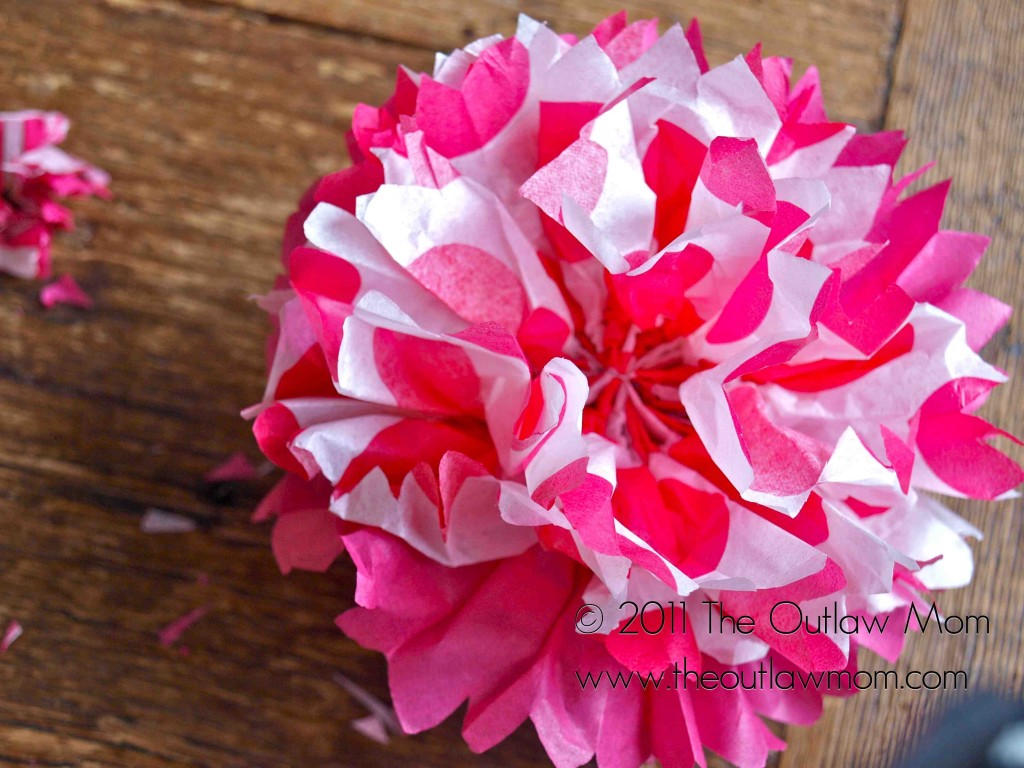
Eight sheets will give you a tighter look like this (and will be a lot harder to peel down to make the petals):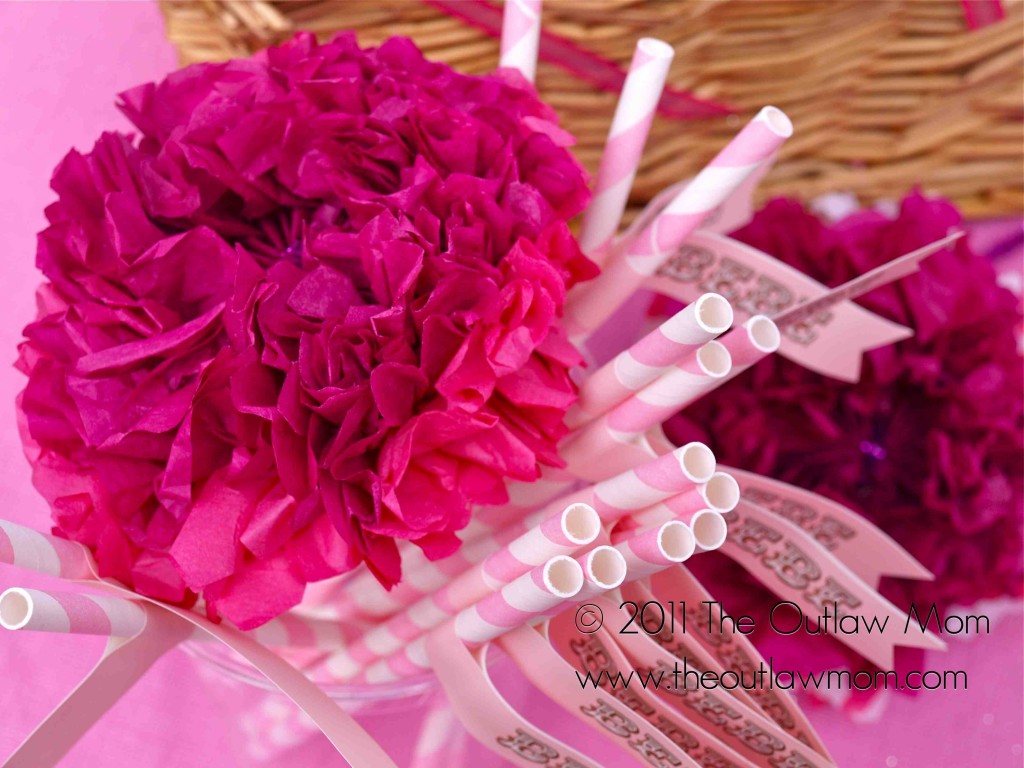
Tips:
- To make stripes, use polka-dot patterned paper.
- Use two colors to show darker and lighter petals for more visual interest.
Step 2
Make 3/8 inch accordion folds until you have one strip of folded tissue paper layers.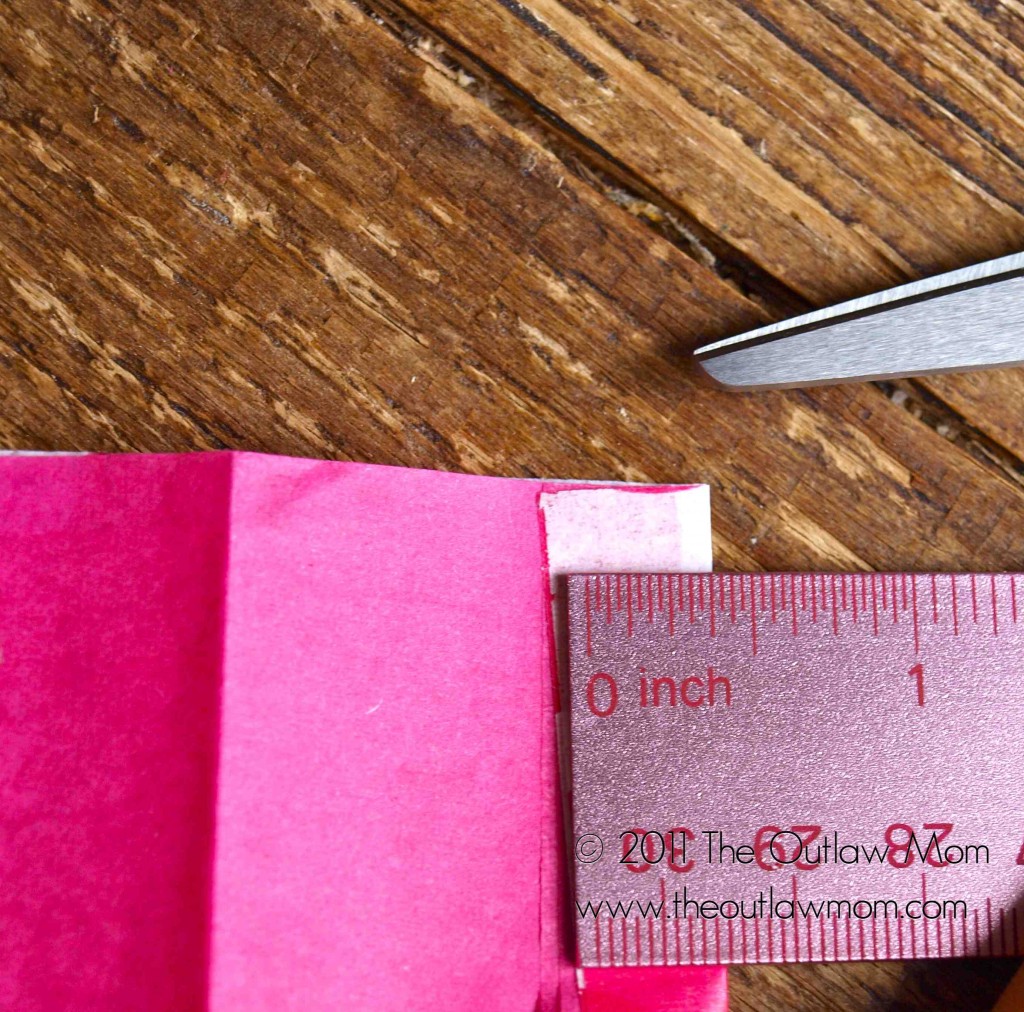
Step 3
Trim the ends of the folded paper strip to make either a rounded or pointy tip.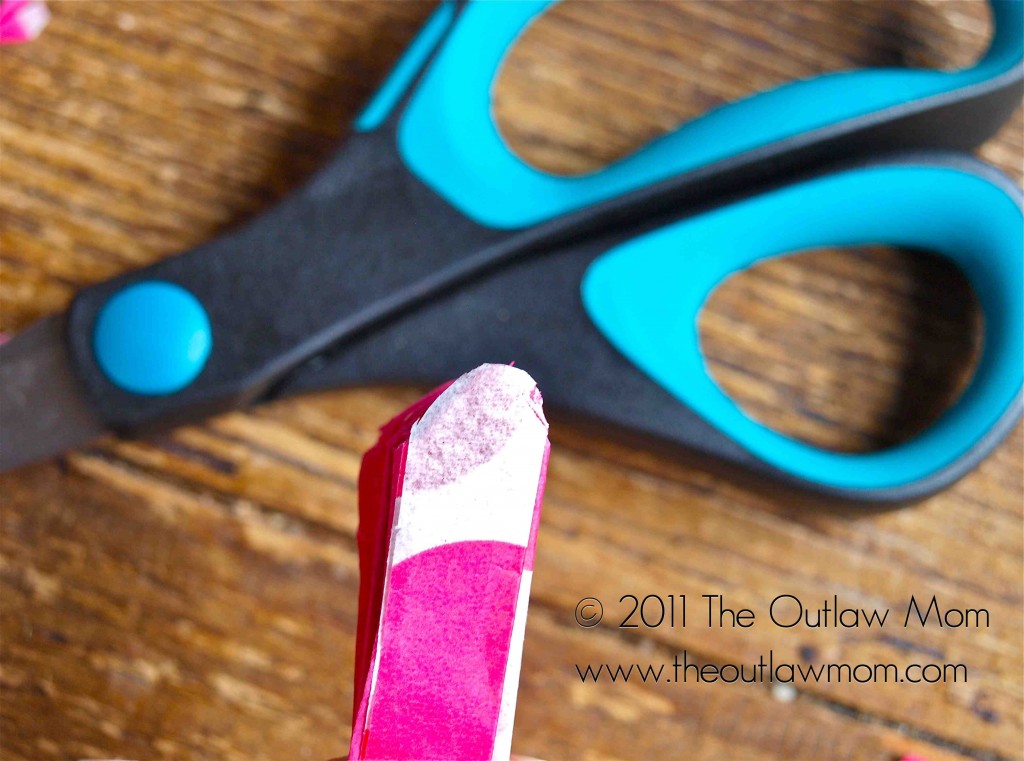
If you cut sharp edges, instead of rounded edges, you’ll end up with something more like the top right and bottom left corner photos: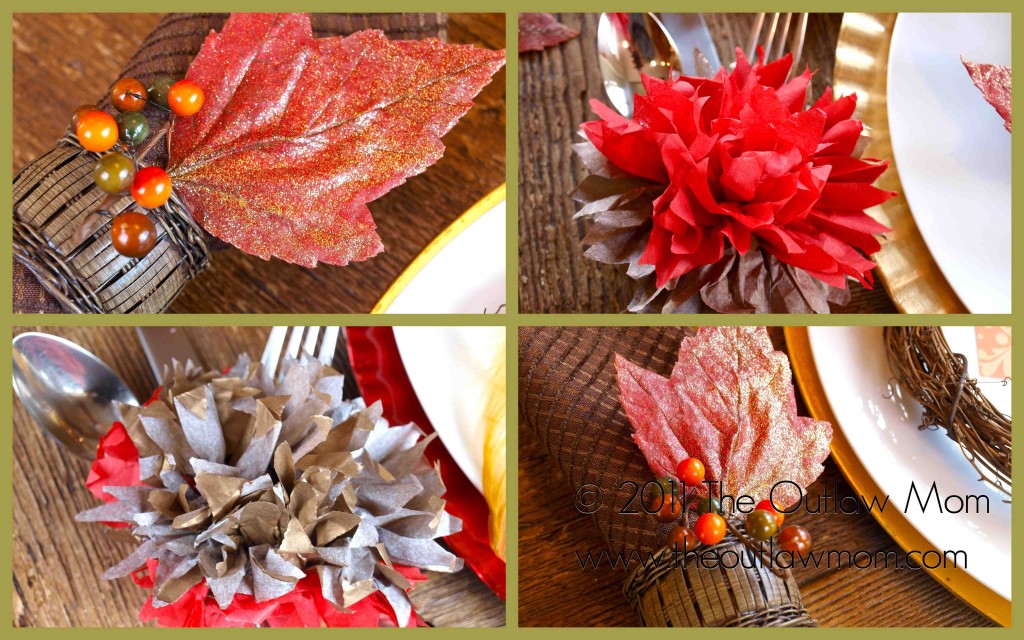
Step 4
Wind a piece of floral wire around the center of the layered paper strip - or use a pretty pipe cleaner if you want people to catch a glimpse of something sparkly in the middle of the flower.
Tip:
You don’t need a huge length of wire if you’re just using the flowers as stand alone decor, for wrapping gifts (instead of a typical bow), or for napkin rings.
Step 5
Fan out the layers and gently peel them down, away from you.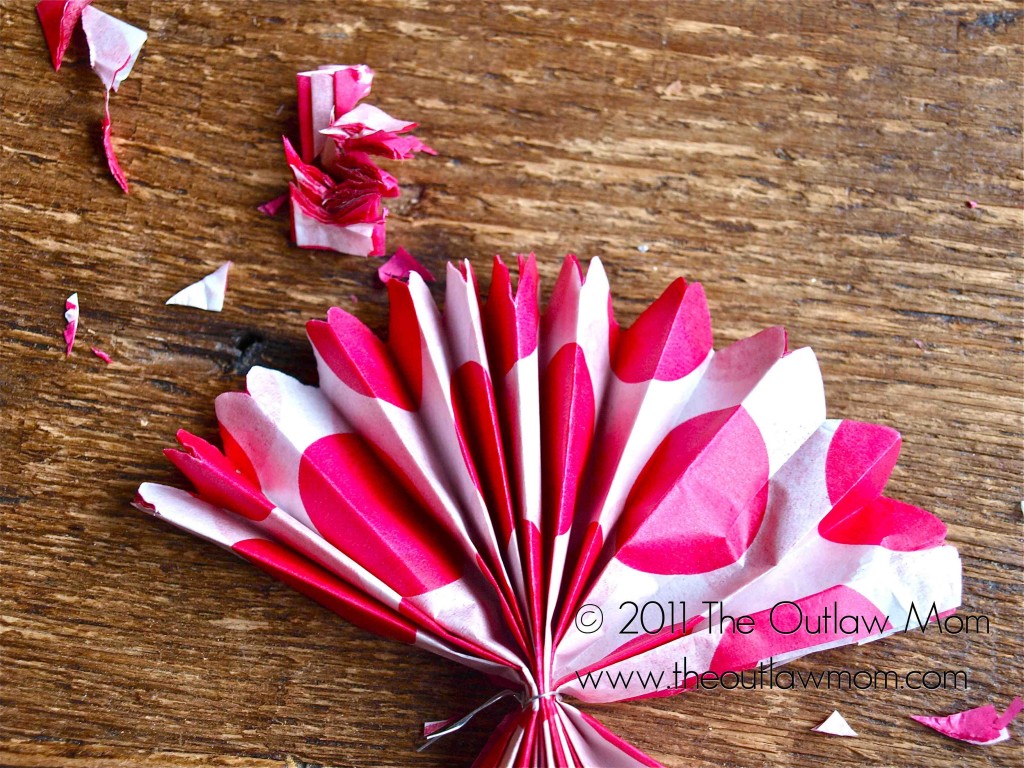
Tips:
- You can shape the flower petals so that there is a more vertical tuft near the center, with softer uncurled petals underneath, for another look.
- Use your fingers to separate the paper around the wire or pipe cleaner to create a center for a more flower-like look. Glue or drop in any embellishments into the center if you wish.
Happy Crafting!








[…] (If you are looking for a tutorial on how to make fancy tissue paper flowers using pipe cleaners, check out The Outlaw Mom’s Tutorial Here!) […]
[…] cute, scrunchy “roses” to attach to the chairs - basically the toddler version of these tissue paper flowers I used to decorate a baby shower here and as napkin rings […]
[…] These handmade tissue paper flowers were so easy to make and packed a pretty pink punch on the glass water dispenser and everywhere we needed a little splash of happy color. (Tutorial coming soon here!) […]
These are so pretty! I wouldn’t have thought they were tissue paper!
Thanks I actually did a tutorial at the party because some of the ladies were asking about it. Takes a while the first time and then you can whiz through.