{Craft} Tissue Paper Tile Coaster Tutorial
March 19, 2012 in All Posts, DIY
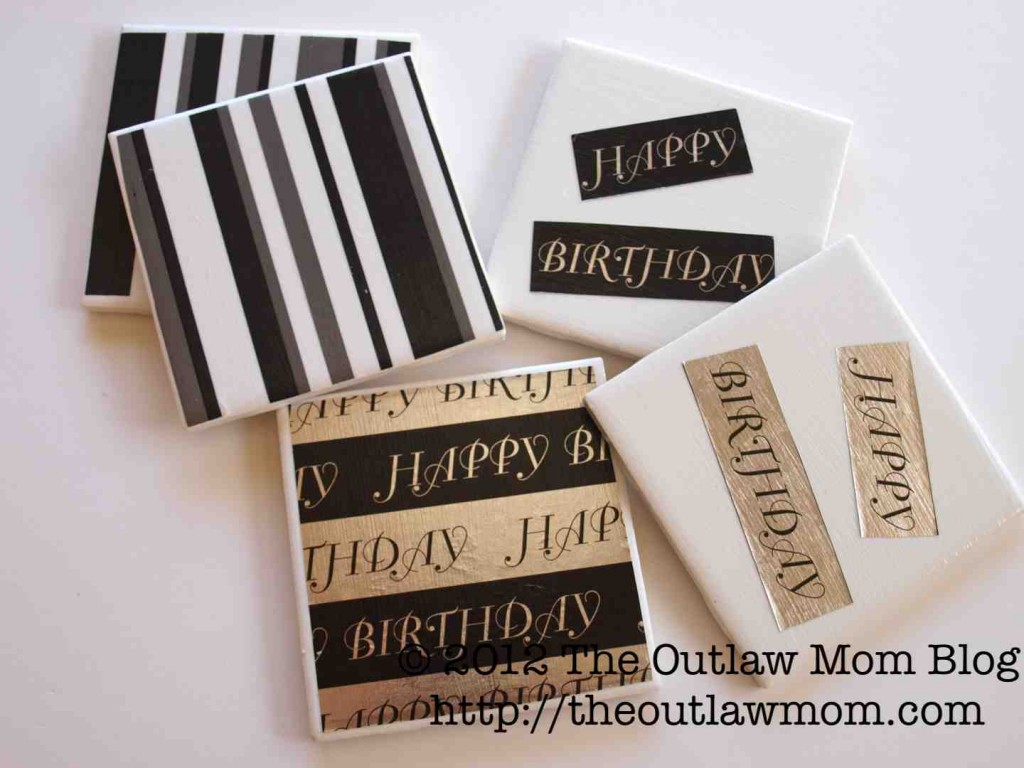
I loved these party napkin coasters Erin made at Nest For Less over the holidays and knew I had to make something similar for Hubby’s beer-themed 40th. I ended up making homemade coasters using wrapping tissue paper and gift wrap in “manly” colors.
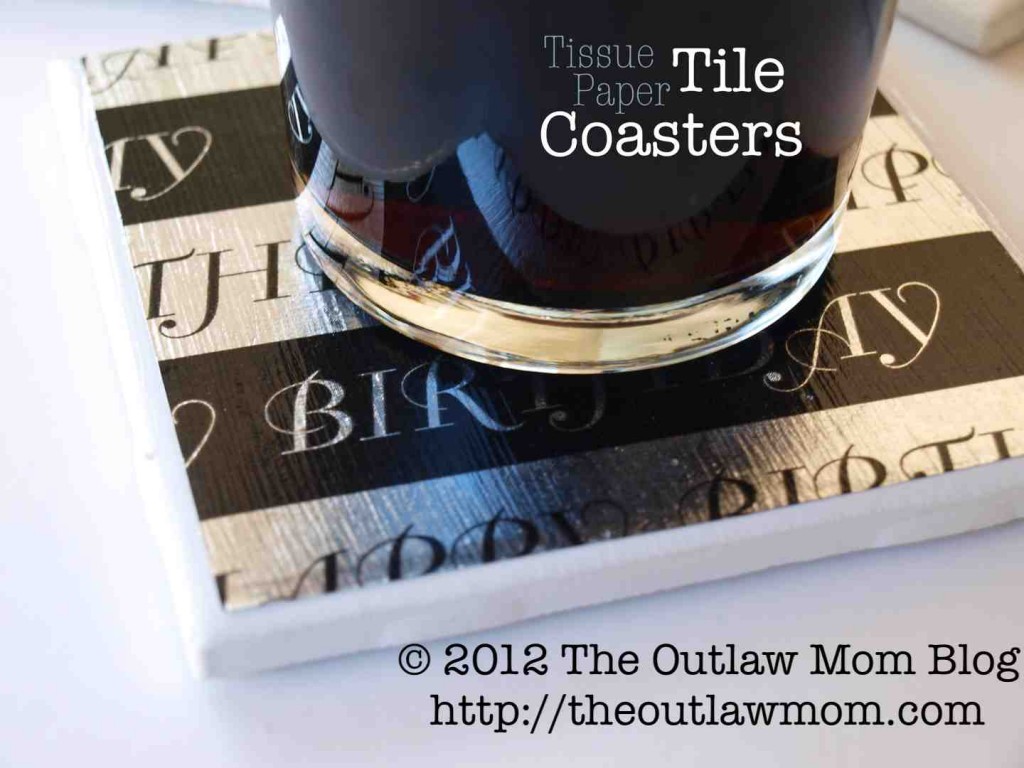
This is one of the easiest, cheapest projects I’ve made, and one of my favorites. Well, besides these DIY Personalized Bottle Caps I also made for the party. (Okay, and the homemade wine and beer charms I’m posting about soon).
Materials
- Smooth Tile Coasters
- Tissue Paper
- Mod Podge + Brush
- Sealant
How To
*Tips
- There’s no need to buy fancy tiles. We bought our 4×4 tiles from Home Depot for 9 cents each.
- It’s okay to skip the sealant part if you’re in a rush. But, know that “drink sweat” will loosen the Mod Podge and you risk the bottom of someone’s cup getting stuck to a coaster when they pick it up off the table, the coaster falling off the bottom of the cup, and broken tile on the floor in the middle of your party.
- Don’t be impatient when applying sealant and follow the manufacturer’s instructions on thinness of coats and temperature limitations. If you don’t, be aware that you’ll end up with a crackly finish (which is what happened to the Valentine’s Day Love Coasters we made).
- Be brave with your coaster style and cut out snippets of pattern or text to create a more unique look. (My fave was the color blocking above).
























[…] Tip: If your recipient is going to use the coasters with cold beverages, make sure to use a sealant to waterproof the coaster like we did here. […]
[…] Heart Coasters (tutorial on tissue paper tile coasters) […]
[…] based on the tissue paper custom tile coasters I did for Hubby’s 40th birthday party, except that we upcycled an unwanted gift and made it […]
I have a quick question. My tissue paper shows a bit around the image I used. How do I make it disappear?
Hi Brandi - I’m not sure what you mean? Did you lay down tissue paper on the tile and lay an image over it? If you don’t want any border (i.e., just the image), you don’t need a layer of tissue paper. If you meant the tissue paper hangs off the side, you can just tear that part off and use some Mod Podge to seal the edges down. Let me know if that’s not what you mean and I’ll try to get you a better answer! Thanks for stopping by
My coasters had tiny little lines on them from where I had obviously used the brush with the mod podge? Did yours? Any ideas how to avoid these ?
Hi Chelsea! It’s tricky to get all of the lines out. Sometimes a lighter brush stroke with a foam brush works, and make sure the coats are thin. Some people smooth with their fingers, but that doesn’t really work when I’ve tried it. Let me know how it goes Thanks for stopping by !
I was wondering what kind of sealant you used?? Because I would like to make some coasters with pics of my grandchildren on them.
I used Minwax Polycrylic protective finish. You really have to be careful to not use too much and follow the instructions exactly or it will get bumpy or gloopy. I really wanted to try the Mod Podge sealer in the spray can, but was a little too timid about using a spray Next time, I will try that, though. I’d love to see how yours turn out!
Thank you for letting me know what you used. I think I am going to try the modge podge sealer. And I will definitly send you pics when I get them done.
[…] sit pretty and perfectly on these Love Coasters, don’t you think? Tutorial when I get back here!They look familiar, don’t they? We made the hearts […]